What Is a Sharpie Knife? DIY Guide and Safety Tips
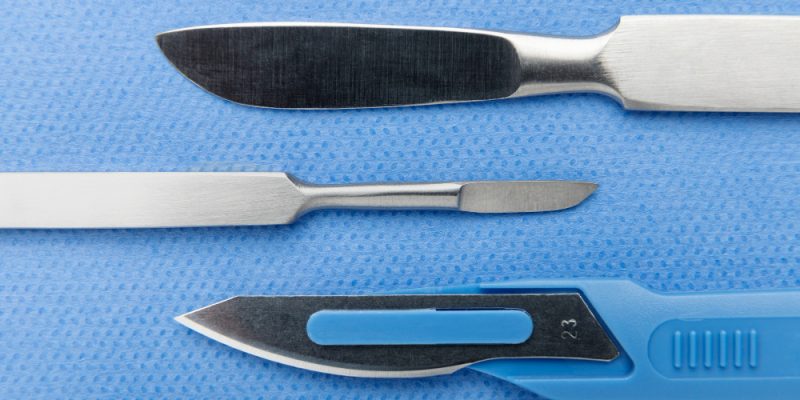
The Sharpie knife has become a popular topic among DIY enthusiasts, knife makers, and hobbyists. It is not a knife made from a marker but rather a custom knife project inspired by the simple Sharpie marker shape. This project often involves creating a small, compact knife using basic tools and techniques. It’s a fun and educational way to learn metalworking, shaping, and finishing skills. However, it also requires careful attention to safety and craftsmanship.
In this guide, we’ll explain what a Sharpie knife is, how it’s made, and the essential safety measures to follow if you plan to make one yourself.
Understanding the Concept of a Sharpie Knife
A Sharpie knife gets its name because the design or outline of the blade is first drawn using a Sharpie marker. Many knife makers sketch their blade patterns on a piece of steel with a Sharpie, then cut and shape the steel following those lines. In the DIY community, the term “Sharpie knife” has evolved to refer to knives that are small, compact, and shaped using these drawn guidelines.
It is not an actual knife made from a Sharpie marker, but rather a creative approach to designing a blade using simple tools. The process teaches the fundamentals of knife making, from drawing and shaping to grinding and polishing.
Why the Sharpie Knife Became Popular
The Sharpie knife became popular because it’s accessible to beginners. You do not need expensive equipment or years of experience to start. The project is small, manageable, and allows you to practice key techniques such as shaping steel, grinding edges, and adding handles.
Social media platforms like YouTube and Instagram helped spread the trend. Creators demonstrated how they could take a basic sketch made with a Sharpie and turn it into a functional and artistic knife. This visual transformation inspired many people to try it themselves.
Tools and Materials Needed
Before starting your Sharpie knife project, you’ll need the right tools and materials. These include:
- A piece of steel (preferably high-carbon or stainless steel suitable for knives)
- A Sharpie marker for drawing your design
- A grinder or file for shaping and sharpening
- Sandpaper of various grits for smoothing the surface
- A vise or clamp to hold the metal securely
- Safety gear such as gloves, goggles, and a dust mask
- Handle material such as wood, micarta, or resin if you plan to add a grip
These are the core essentials for a beginner-level project. Advanced makers may also use belt grinders, heat treatment equipment, and polishing wheels.
Drawing the Design with a Sharpie
The first step in making a Sharpie knife is creating the design. Use a Sharpie marker to draw your desired knife shape on the steel. The outline should include the blade edge, spine, and handle area. Beginners often start with simple drop-point or straight-back designs.
This stage is important because your drawing becomes the blueprint for the final knife. Take your time to refine the proportions. Once the outline is ready, you can cut around it using a hacksaw, grinder, or cutoff wheel.
Cutting and Shaping the Blade
After you’ve drawn your outline, the next step is shaping the steel. This is where the real work begins. Cut roughly along the Sharpie line, leaving a small margin for adjustments. Then, use a file or grinder to refine the edges and achieve a smooth, even contour.
Shaping is also when you form the bevels, which are the slanted surfaces that meet to create the blade edge. Beginners can use files to control the bevel angles more easily, while experienced makers might use a belt grinder for precision. Always move the steel slowly and steadily to maintain control.
Grinding and Refining the Edge
Once the shape is established, you can begin grinding the edge. This stage defines the knife’s sharpness and cutting performance. For beginners, a fine file or coarse sandpaper works well. Move gradually from coarse to finer grits until you achieve a clean edge.
If you have access to power tools, make sure to dip the blade in water frequently to prevent overheating, as excess heat can damage the steel’s properties. A consistent edge and smooth finish are signs of good craftsmanship.
Adding the Handle
Some Sharpie knife designs are made as full-tang knives, where the steel extends through the handle. You can attach wooden, plastic, or composite handle scales using epoxy or small pins. Others prefer a minimalist handle wrapped with paracord or leather for simplicity.
When shaping the handle, focus on comfort and balance. A good handle should feel natural in the hand and complement the knife’s size and style. Sand and finish the handle material until it is smooth and well-polished.
Finishing and Polishing the Knife
Polishing gives the knife its final appearance. Use fine-grit sandpaper to remove scratches and imperfections from the blade. Many makers choose to leave a satin finish, while others polish the metal until it shines.
You can also etch your initials, a logo, or design lines with a Sharpie as a guide before polishing. Applying a protective oil or wax helps prevent rust and keeps the surface clean. The finished knife should look neat, balanced, and durable.
Safety Tips When Making a Sharpie Knife
Safety is crucial in knife making. Even a small project like a Sharpie knife involves sharp edges, hot metal, and flying debris. Here are some important precautions:
- Always wear safety goggles and gloves when grinding or cutting.
- Secure the metal with clamps or a vise to prevent slipping.
- Keep water nearby to cool the steel and avoid burns.
- Work in a well-ventilated area or wear a mask to protect from dust and fumes.
- Never rush the process; steady, careful work ensures both safety and quality.
Following these steps helps prevent accidents and makes the crafting experience enjoyable.
The Art and Skill Behind Sharpie Knives
While the Sharpie knife began as a simple DIY project, it has evolved into a form of art and craftsmanship. Many custom knife makers use the same process of sketching with a marker before shaping professional-grade knives. The method encourages creativity and hands-on skill development.
For hobbyists, making a Sharpie knife can lead to a deeper appreciation for traditional knife making. It teaches patience, attention to detail, and respect for safety and design.
Conclusion
The Sharpie knife is more than a trend; it’s a creative introduction to the world of knife making. By starting with a Sharpie sketch, you can learn how to design, shape, and finish a blade from raw metal. It’s a rewarding project that helps develop practical skills and artistic vision.
However, it’s important to remember that knife making involves tools and materials that must be handled responsibly. Always prioritize safety and follow proper procedures. With care and practice, your Sharpie knife can become a beautiful, functional piece of craftsmanship that reflects your creativity and dedication.
FAQs
1. What is a Sharpie knife made from?
A Sharpie knife is made from a piece of steel, usually high-carbon or stainless, shaped following an outline drawn with a Sharpie marker.
2. Can I make a Sharpie knife without power tools?
Yes. You can use files, sandpaper, and a hacksaw to create one by hand. It takes longer but allows better control for beginners.
3. Is it safe to make a knife at home?
It can be safe if you follow all safety precautions, wear protective gear, and use the right tools properly.
4. How long does it take to make a Sharpie knife?
For beginners, it can take anywhere from several hours to a full day, depending on the complexity of the design and available tools.
5. Do I need to heat-treat a Sharpie knife?
Yes, if you want a fully functional and durable blade. Heat treating hardens the steel, improving its strength and edge retention.
Also read: Are Silk Sheets Hot to Sleep On? The Truth About Silk Bedding